

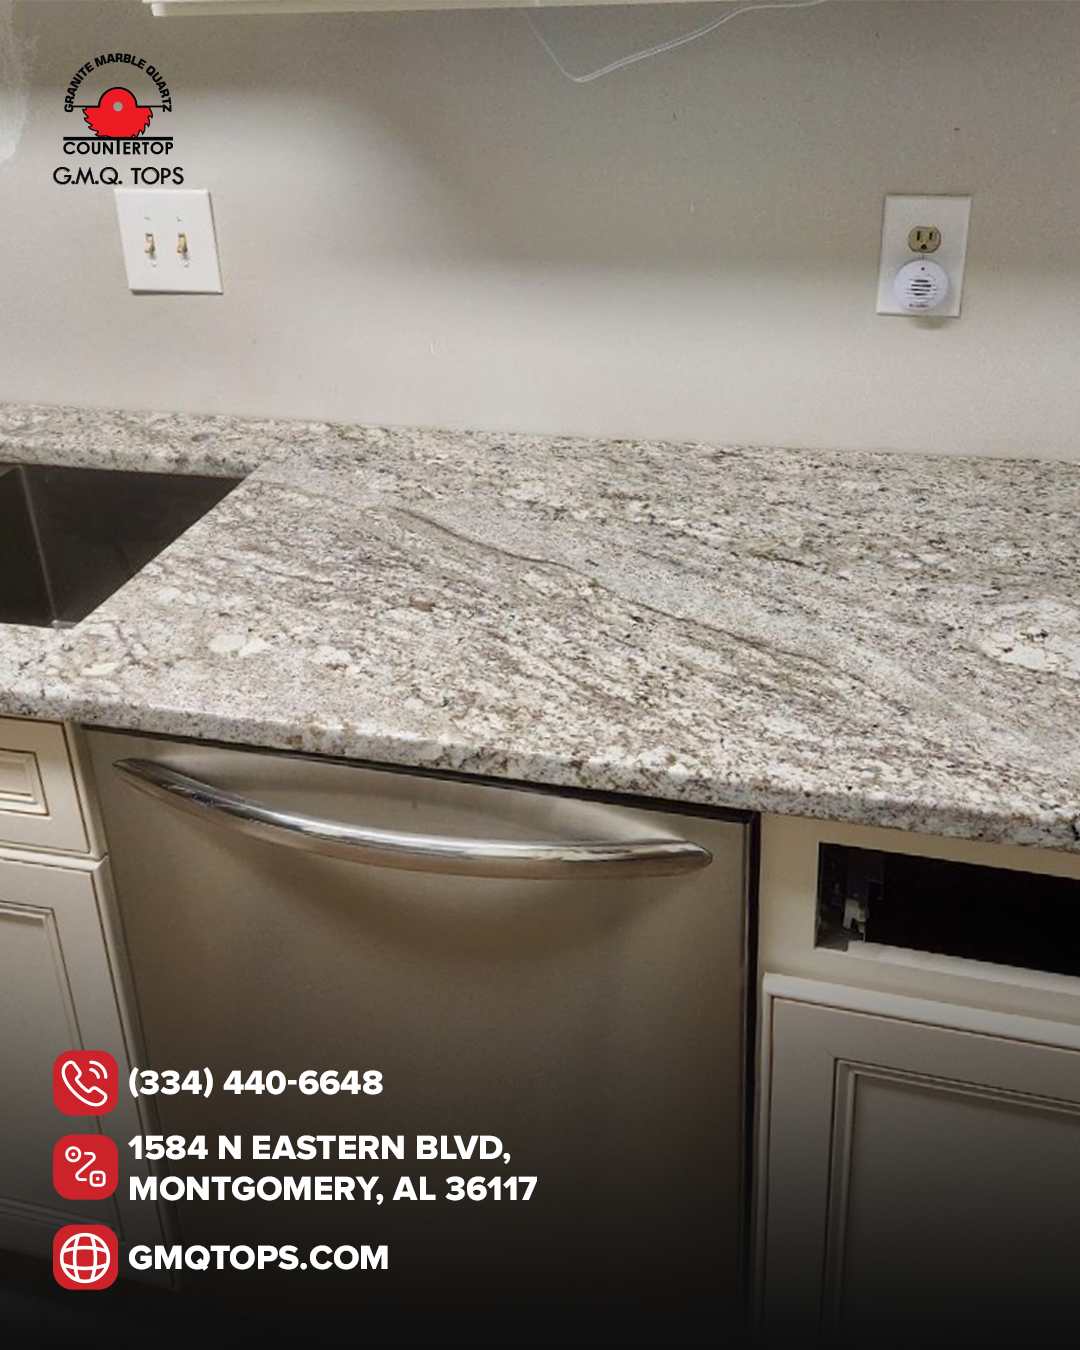
Installing new countertops is an exciting step in upgrading your kitchen or bathroom. Whether you’re opting for granite, quartz, or another material, proper preparation ensures a smooth and stress-free installation process. Here’s a step-by-step guide to help you get ready for your countertop installation day.
1. Clear the Area
Before the installation team arrives, clear the countertops of all items. This includes appliances, dishes, decorations, and any personal belongings. Remove items from nearby cabinets or drawers if they might interfere with the work. A clutter-free space allows the team to work efficiently and reduces the risk of accidental damage to your belongings.
-
Tip: Store small appliances and items in another room to keep them safe and out of the way.
2. Ensure Easy Access
The installation crew will need to bring in heavy countertop slabs, tools, and equipment. Make sure there’s a clear path from the entrance of your home to the installation area. Move furniture, rugs, or any obstacles that might block their way. If you live in an apartment, notify your building management and reserve an elevator if needed.
-
Tip: Inform the team about any narrow doorways, stairs, or tight corners they should be aware of.
3. Disconnect Plumbing and Appliances
If your countertops involve a sink or cooktop, you’ll need to disconnect the plumbing and appliances beforehand. Hire a licensed plumber or electrician to safely disconnect water lines, gas lines, or electrical connections for stoves, dishwashers, or sinks. The installation team will not typically handle this step, so plan ahead to avoid delays.
-
Tip: Turn off the water supply to the kitchen or bathroom a day before to prevent any surprises.
4. Protect Your Space
Countertop installation can create dust and debris, especially if cutting or adjustments are needed on-site. Cover nearby furniture, floors, and appliances with plastic sheets or drop cloths to protect them. If possible, seal off the work area to minimize dust spreading to other rooms. Some companies may provide protective coverings, but it’s best to confirm this in advance.
-
Tip: Open windows or set up a fan to improve ventilation during the installation.
5. Plan for the Day
Countertop installation can take anywhere from a few hours to a full day, depending on the complexity of the project. Plan to be present or have someone available to answer questions and oversee the process. Arrange for pets or children to be out of the house to ensure their safety and reduce distractions.
-
Tip: Prepare a temporary kitchen setup in another room (like a microwave and coffee maker) since your kitchen may be out of commission during installation.
6. Communicate with Your Installer
Before the installation day, confirm the arrival time with your installer and discuss any specific concerns or requests. For example, if you’re keeping your old countertops for another project, let the team know. Double-check that all materials (like sinks or faucets) are ready if you’re supplying them.
-
Tip: Ask about the cleanup process—most professional teams will handle basic cleanup, but it’s good to clarify.
7. Post-Installation Checklist
Once the installation is complete, inspect the countertops with the team. Check for proper alignment, secure installation, and any visible defects. Test the sink and appliances once they’re reconnected to ensure everything works. If there are any issues, address them immediately with the installer.
-
Tip: Wait for the recommended curing time (usually 24–48 hours) before placing heavy items on the countertops or using the sink.
Conclusion
By preparing ahead of time, you can make your countertop installation day as seamless as possible. Clear the space, ensure access, and communicate with your installer to set the stage for a successful project. With these steps, you’ll soon be enjoying your beautiful new countertops without any hassle!